
You've selected the perfect polo shirts for your sales team or found the ideal workwear for your field crew. Now comes the fun part: deciding where to place your company logo. The right placement maximizes brand visibility while maintaining a professional look that your team will actually want to wear.
Most business apparel follows standard logo placement conventions—left chest, back, sleeves—but smart buyers know there are alternative locations that often work better. Maybe the standard chest area already features manufacturer branding, or structural elements like pockets and seams limit your options. Perhaps your logo shape doesn't fit traditional placements, or you want something more distinctive than the usual left chest embroidery.
This guide breaks down the most effective logo placements for different garment types, explains when standard locations work best, and reveals alternative spots that deliver maximum impact. You'll learn how garment construction affects your options, which decoration methods work where, and pro tips for creating cohesive branded apparel that actually gets worn. Whether you're outfitting executives or equipping a trade show team, the right placement strategy turns ordinary t-shirts and uniforms into powerful brand ambassadors. Let’s get into it.

Most Common Logo Placements
Logo placement and print location mean the same thing—they're both referring to where your design goes on the garment. Each location has its own advantages depending on your brand goals, garment type, and how the apparel will be used. Many customized garments combine multiple print locations for maximum brand impact. Learn about these placements so you know how to combine them for the best result.
Left Chest
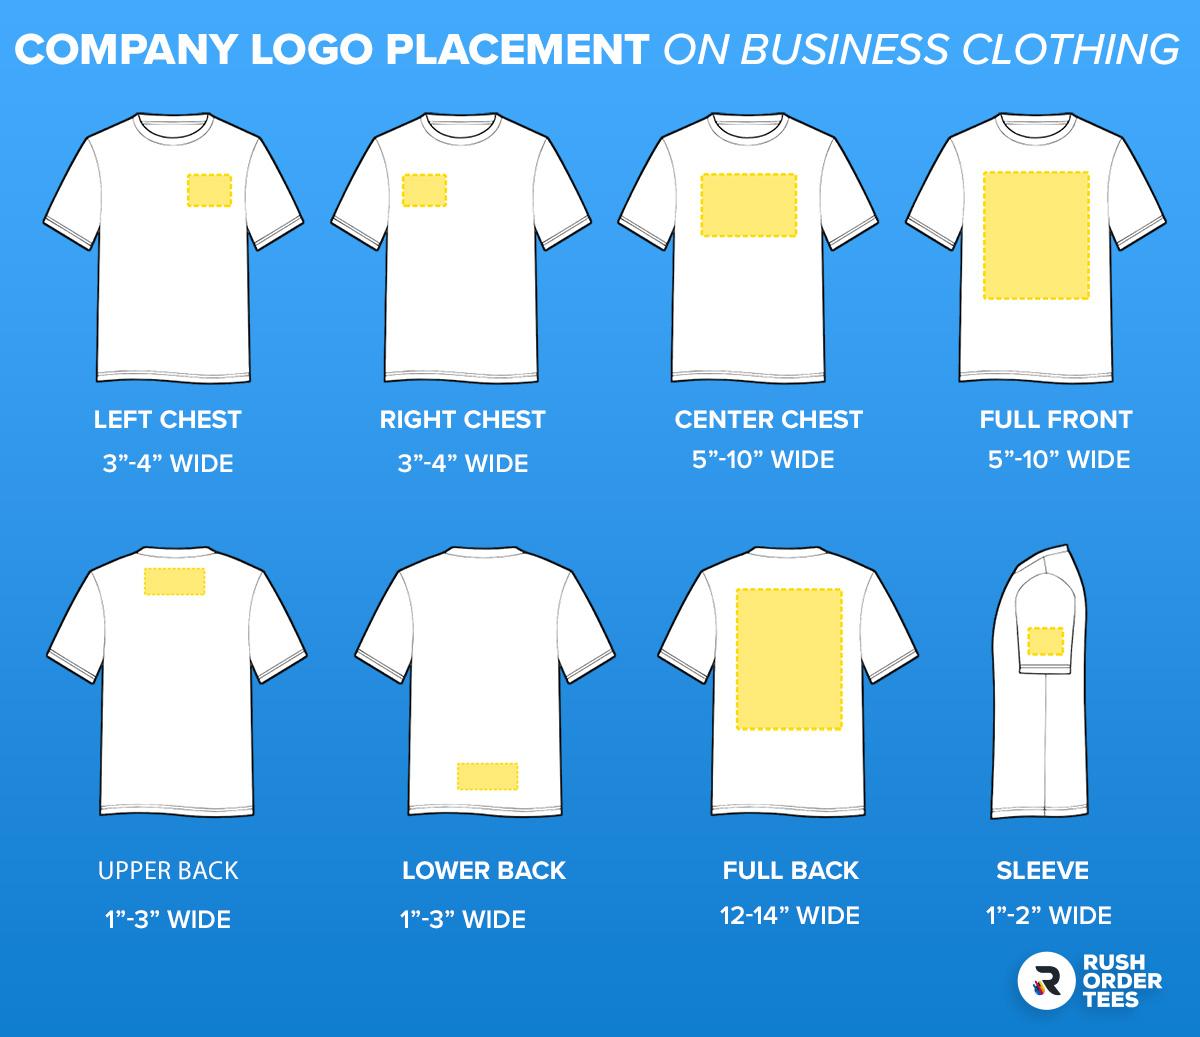
The left chest sits 3-4 inches down from the collar and typically accommodates logos between 3-4 inches wide. This location works on virtually every garment type—polos, button-ups, quarter-zips, jackets, and even short sleeve tees. The imprint area varies slightly based on garment construction, but you can count on consistent placement that looks balanced across different sizes and styles.
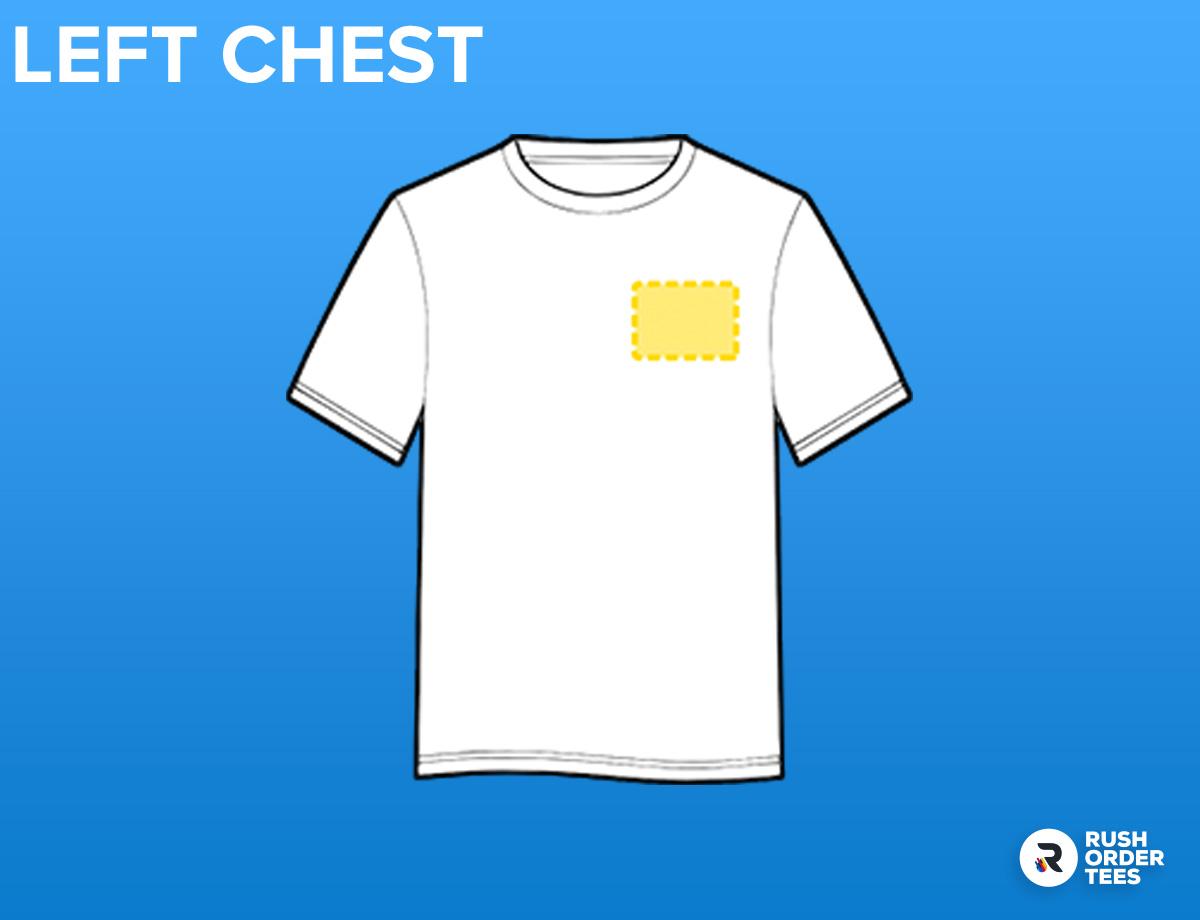
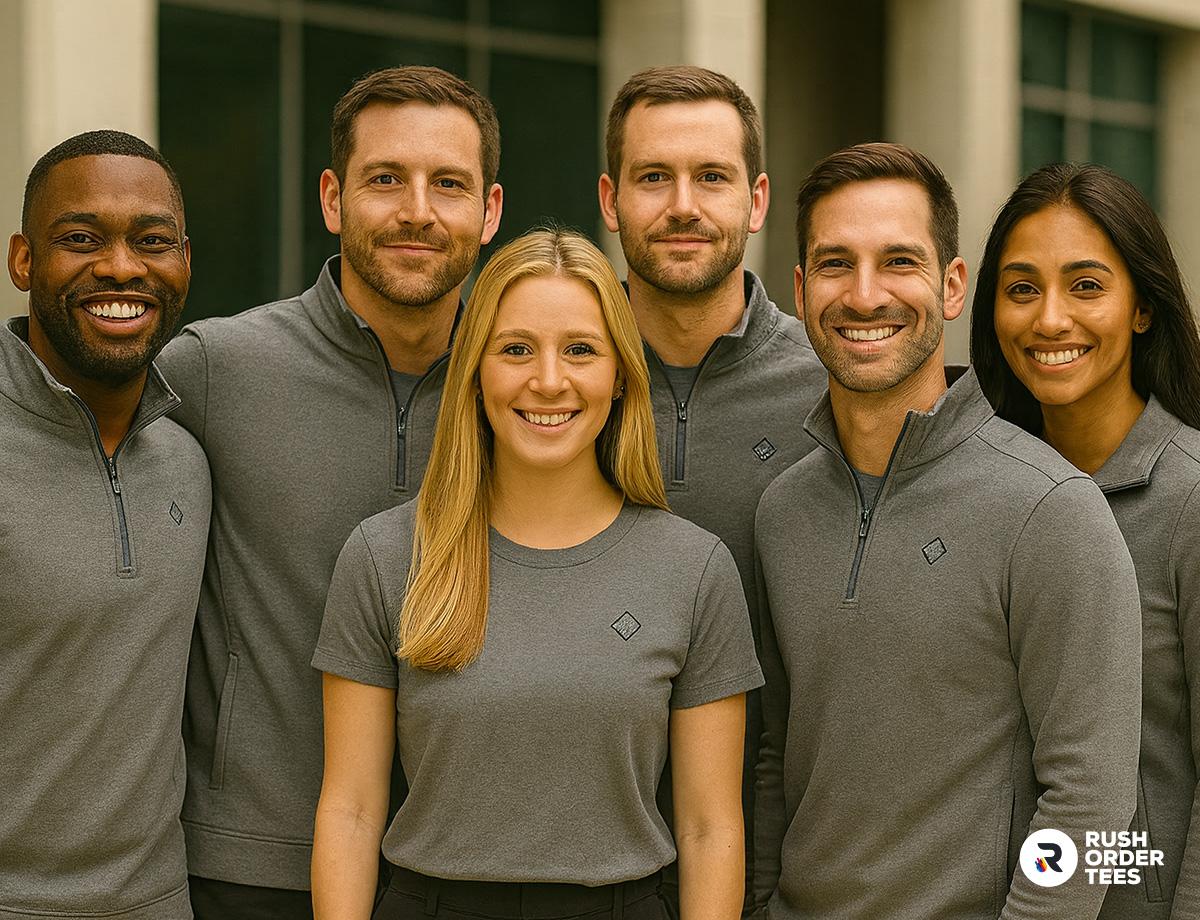
The left chest dominates business apparel because it mirrors where name tags and badges traditionally appear, creating instant professional credibility. Sales teams love this placement for client meetings since the logo stays visible during handshakes and conversations. It's also the go-to choice for corporate uniforms, executive gifts, and any situation where subtle branding matters more than bold statements. The location works especially well with embroidery, which adds that premium, dimensional quality that screen printing can't match.
Right Chest
The right chest mirrors the left chest placement—3-4 inches down from the collar with a 3-4 inch wide imprint area. Just remember, we're talking about the wearer's right (your "other left" when facing someone). This location works on the same garment types as left chest: polos, button-ups, jackets, and most business apparel. The imprint area follows the same size guidelines, though you'll want to check that pockets or existing design elements don't interfere.
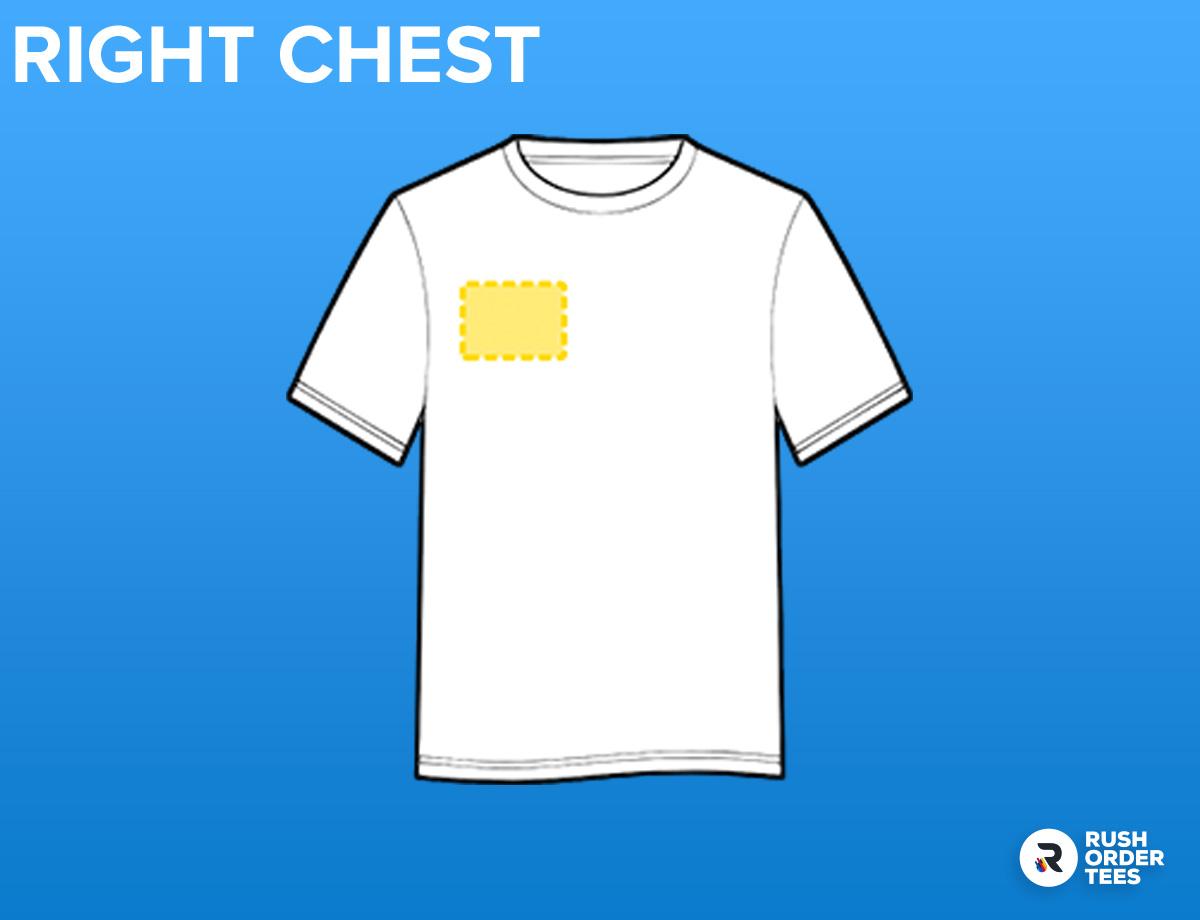
The right chest really shines when you need dual branding or personalization. If your workwear already features manufacturer logos on the left chest—think Nike swooshes or Carhartt patches—the right chest becomes your prime real estate for company branding.
This placement also works perfectly for employee names, either embroidered directly or added via name patches, while keeping your company logo on the left. Field teams and service technicians often use this setup: company branding on the left, individual names on the right, creating professional identification that helps with customer interactions and team accountability.
Sleeve (Left or Right)
Sleeve placement typically works with much smaller logos—often just 1-2 inches wide and positioned about an inch up from the hem. This location accommodates simple designs on polos, long-sleeve shirts, jackets, and quarter-zips. The key here is keeping things minimal since the curved surface and smaller imprint area demand simplified artwork. Think clean text, basic logos, or single design elements that read clearly at a smaller scale.
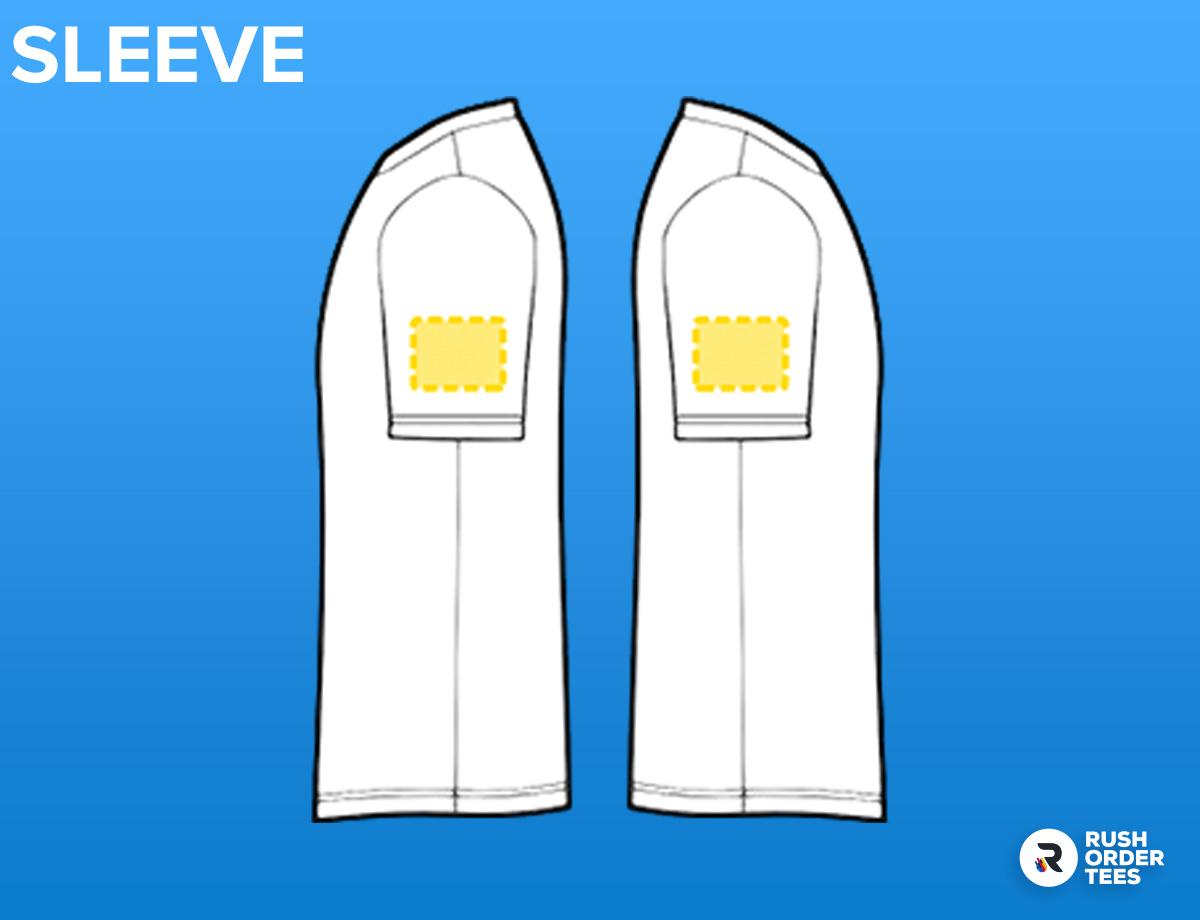
Sleeve placement delivers classy, subtle branding that feels modern and understated. It's perfect for executive gifts, upscale corporate apparel, or situations where you want brand presence without being obvious about it. Embroidery works especially well here, creating that premium dimensional effect on jacket sleeves or polo arms.
Some businesses go with large sleeve prints on long-sleeve tees—particularly lettering that can stretch up to 14 inches wide by 4 inches high using screen printing or DTF transfers. This approach works great for event staff, team building, or casual branded apparel where bold visibility trumps subtlety.
Upper Back / Back Yoke
The upper back, also called back collar or yoke placement, sits about 1 inch down from the collar seam and accommodates small logos typically 1-3 inches wide. This location works particularly well on structured polos that have a reinforced yoke panel, button-ups, and jackets. The imprint area is limited by the collar construction and shoulder seams, so simple designs work best here.
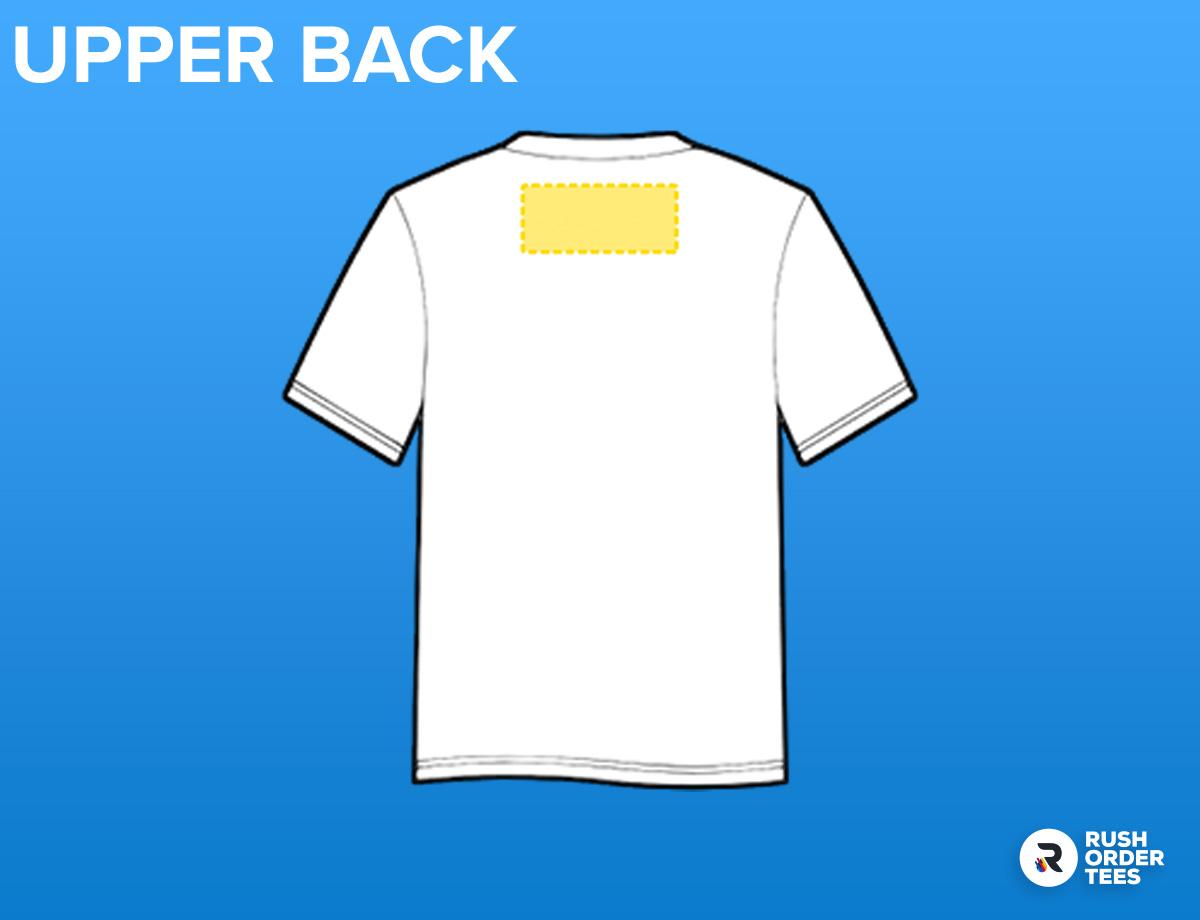
The upper back serves as the perfect complement to front designs rather than standing alone. Promotional tees often use this approach: eye-catching graphics on the front with a small company logo on the upper back for brand credit. This location is especially great for tank tops.
The placement creates an understated, premium look that feels intentional rather than afterthought. This location also works well when you want subtle branding that doesn't compete with existing manufacturer logos or front designs, giving you professional brand presence that's visible from behind without overwhelming the garment's overall aesthetic.
Hem or Bottom Corner
Hem placement sits along the bottom edge of the garment, typically 1-2 inches up from the seam, with logos usually 2-4 inches wide depending on the design. This location works on t-shirts, polos, and long sleeves, but only makes sense for garments that will be worn untucked. The curved hem on many shirts can affect logo placement, so simpler designs tend to work better than complex artwork.
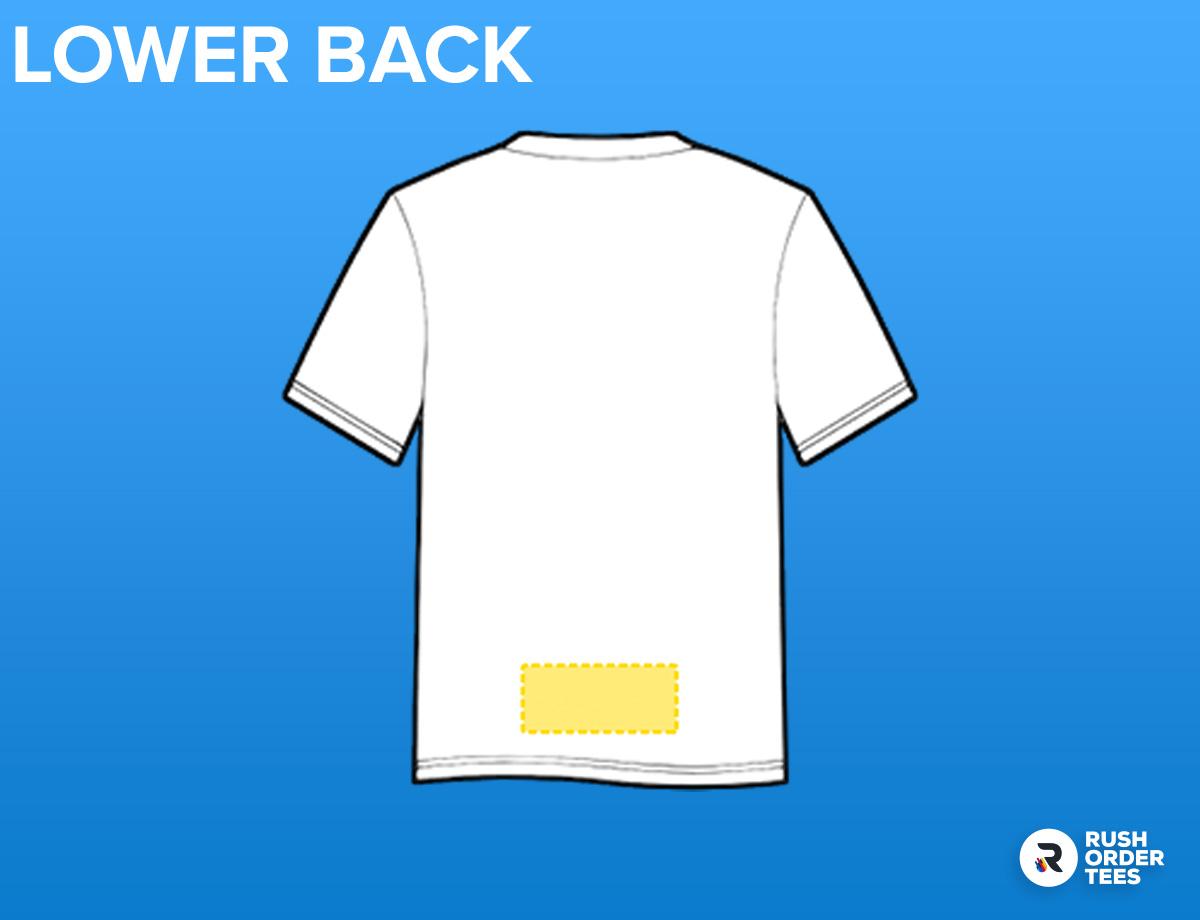
This placement offers a fresh alternative when you want to break from traditional logo spots and create something more retail-inspired. It's particularly popular for employee gifts, lifestyle brands, and companies targeting younger demographics who appreciate subtle, fashion-forward branding.
The hem location works well for screen printing and DTF transfers, giving you flexibility with colors and detail that embroidery might not handle as cleanly. Just remember this placement only delivers impact when shirts stay untucked—if your team tucks in their polos or dress shirts, that carefully positioned logo disappears completely.
Full Back
Full back placement covers the entire upper back area, typically 12-14 inches wide by 14-16 inches high, positioned about 3-4 inches down from the collar. This location works best on t-shirts, long-sleeve tees, and some sweatshirts where you have a large, uninterrupted canvas. The imprint area can accommodate detailed designs, multiple colors, and bold text that reads clearly from a distance.
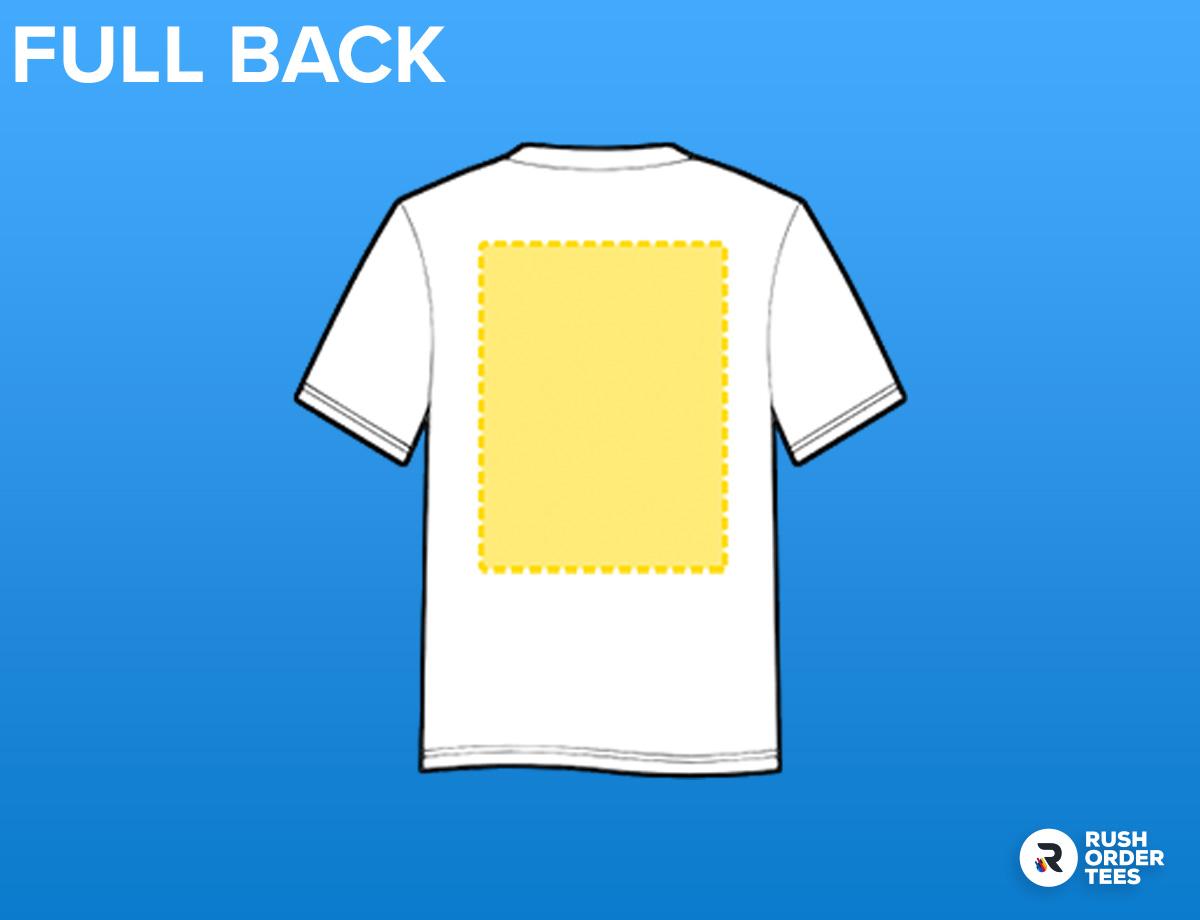
This classic placement maximizes visibility and works perfectly for construction crews, landscaping teams, outdoor events, and any situation where you want maximum brand impact from behind. It's often paired with a subtle left chest logo for the perfect combination: professional front branding for face-to-face interactions and bold back graphics for visibility in groups or work environments.
Full back placement also shines when front branding gets covered—think restaurant servers wearing aprons or kitchen staff in chef coats. Just watch out for garments with hoods on hoodies and jackets, since a raised hood can block part of your design. For maximum impact, keep essential text and logos in the upper portion of the back print area.
Center Chest
Center chest placement sits in the middle of the garment, typically 4-5 inches down from the collar, with the design centered on the sternum. The imprint area ranges from 5x5 inches for smaller logos up to 9x9 inches standard, or 10x10 inches on XL and larger sizes. This location works exclusively on t-shirts and garments without collars, since collar construction interferes with the centered positioning.
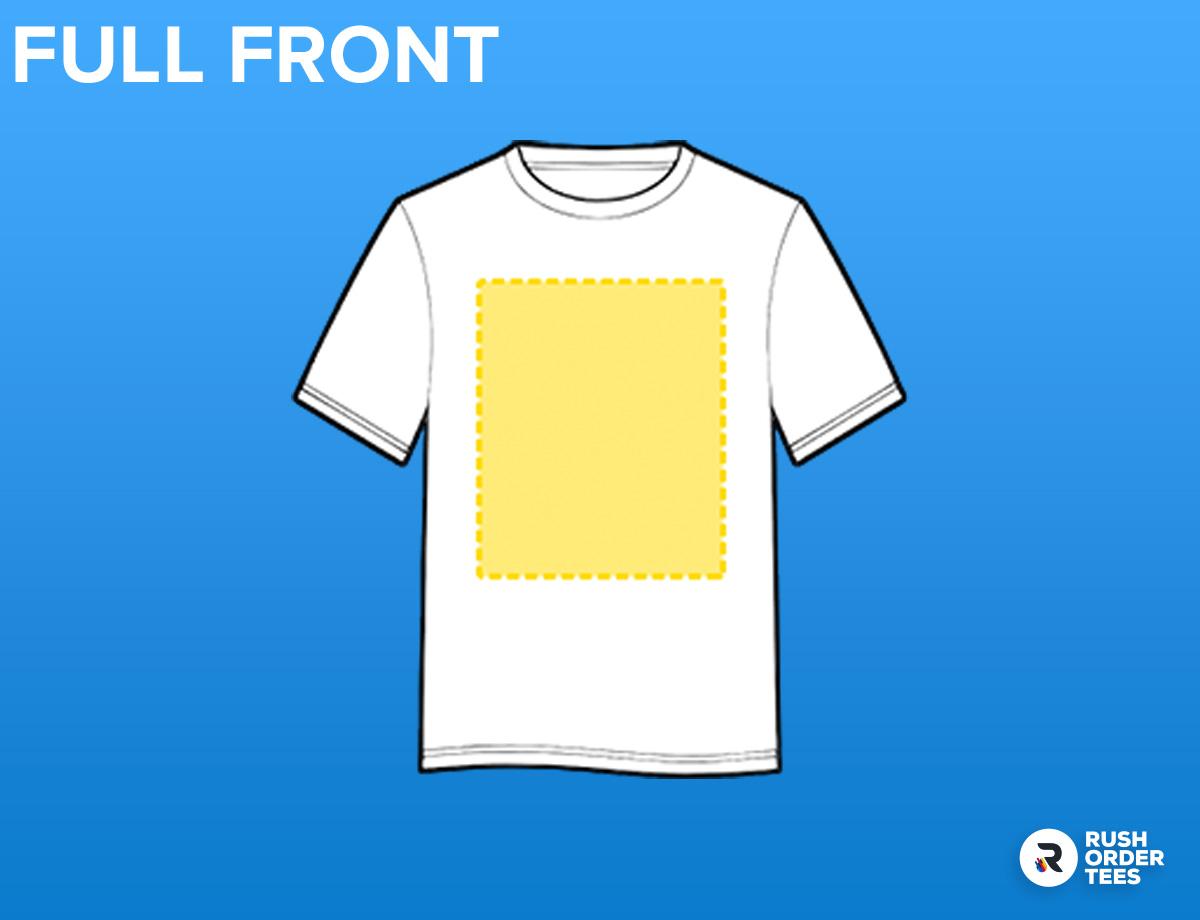
Center chest delivers more brand impact than left or right chest placement without crossing into walking billboard territory. It's perfect for modern brands with casual work environments who want stronger brand promotion while maintaining professional appeal. The placement works especially well for simple, bold designs that read clearly at a glance.
This print size also translates perfectly to other workwear like aprons or vest backs, giving you consistency across different garment types. Bonus advantage: center chest logos stay visible even when employees wear blazers or zip-up hoodies over their shirts, ensuring your branding doesn't disappear under layers during client meetings or outdoor work.
Factors to Consider When Choosing Logo Placement
The best logo placement depends on multiple factors working together—your garment type, brand goals, and how the apparel will actually be used. Consider these key elements before finalizing your design:
- Garment Type & Construction - Polos and dress shirts limit placement options due to collars and button plackets, while t-shirts offer maximum flexibility. Pockets, seams, and existing design elements can block prime real estate.
- Logo Size & Shape - Horizontal logos work better on chest and back placements, while stacked or square designs adapt to sleeves and smaller areas. Complex logos need larger imprint areas to remain readable.
- Use Case & Environment - Field uniforms need high visibility (back placement), while executive apparel calls for subtle chest positioning. Consider whether garments will be tucked, layered, or covered by safety gear.
- Existing Branding - Adidas stripes, Under Armour logos, and other manufacturer branding can force you to alternative placements. Work with existing elements rather than competing against them.
- Color & Aesthetic - Dark garments hide dark logos; bright shirts can overwhelm subtle designs. Consider thread colors for embroidery and how your logo will contrast against the garment color and existing design elements.
- Decoration Method - Embroidery works best on structured areas like chest and sleeves, while screen printing and DTF transfers handle larger back designs and detailed artwork more effectively.
- Branding Goals - Subtle brand presence calls for small chest or sleeve placement, while maximum visibility demands back or center chest positioning. Match placement intensity to your brand strategy.
- Team Consistency - Maintain uniform placement across different garment types and team members to create cohesive brand presentation and professional appearance.
Customization Best Practices & Pro Tips
Smart logo placement goes beyond just picking a location—these best practices ensure your branded apparel looks professional and gets worn regularly:
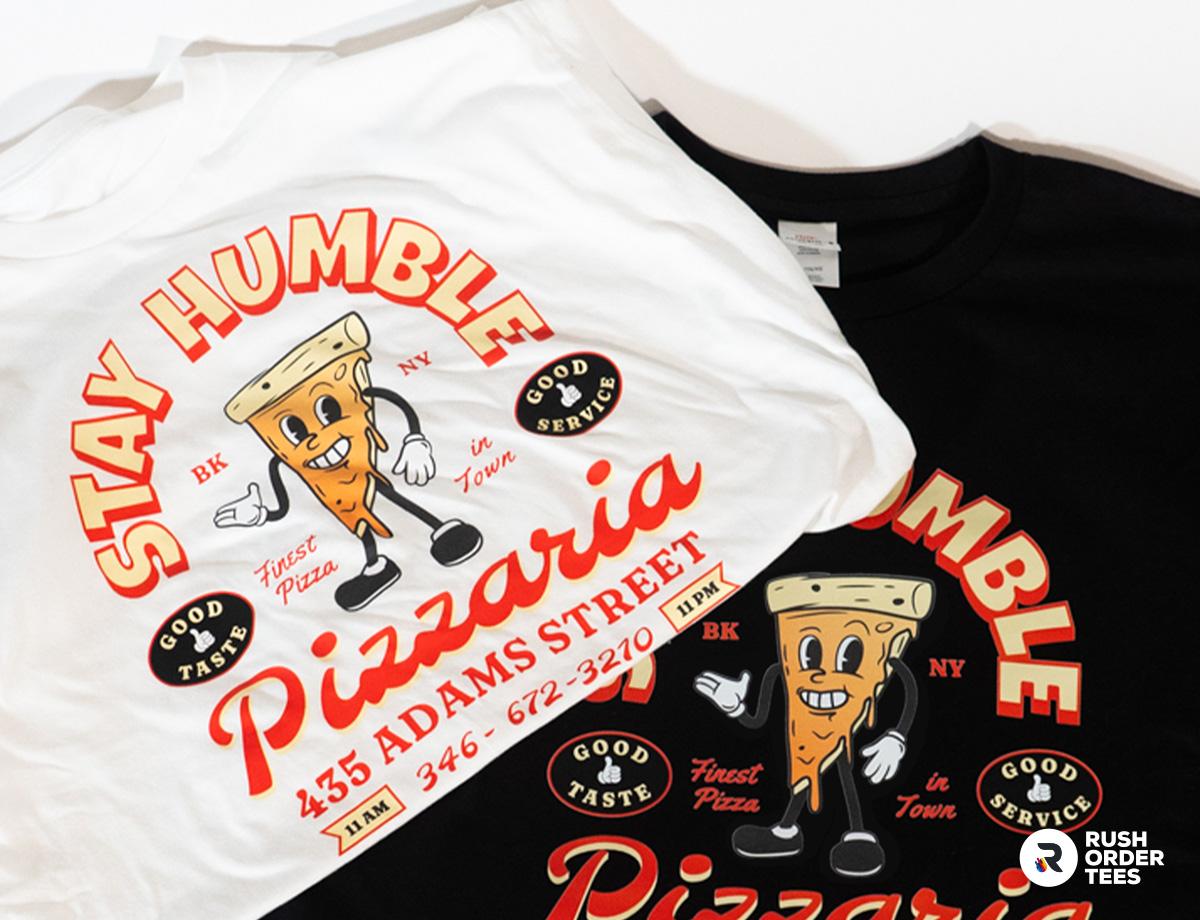
- Keep Designs Simple - Smaller, clean, minimal logos work best, especially on structured garments like dress shirts and workwear. Limit colors and avoid complex details that disappear at smaller sizes.
- Work With Garment Colors - Tone-on-tone embroidery creates elegant, understated branding, while high contrast works better for visibility and impact. Consider existing garment colors when choosing thread or ink colors.
- Maintain Design Margins - Keep at least 1 inch of space between your logo and any hem, edge, pocket, or structured area. This buffer zone ensures proper embroidery hooping and prevents printing issues near seams and construction details.
- Keep Embroidery Proportional - Limit chest logos to 3.5 inches maximum width to maintain garment drape and professional appearance. Oversized embroidery can pucker fabrics and look cheap.
- Maintain Consistent Placement - Use identical positioning across all garments and team members. Consistent brand presentation looks more professional and creates stronger visual impact.
- Skip Phone Numbers & Web Addresses - Printed contact info looks tacky and rarely gets used. People will search your company name online anyway, so make sure your business name is clear and you have a strong web presence.
- Test Sizes at Home - Print logos at different sizes with your home printer, cut them out, and place them on similar garments to evaluate scale. This is especially helpful for structured items like safety gear.
- Use DTF for Performance Wear - DTF transfers work perfectly on lightweight performance shirts that don't hold embroidery well. Just avoid large solid designs without negative space that can interfere with breathability.
- Consider DTF Patches - A versatile alternative to embroidery that works across multiple garment types. The same logo patch can go on polos, hoodies, jackets, hats, and bags for consistent branding.
- Request Virtual Mockups - Take advantage of digital proofs before production. Our art department provides mockups for every order and helps optimize designs for the best results.
Common Logo Placement Mistakes to Avoid
These frequent missteps can turn professional branded apparel into expensive mistakes—here's what to watch out for:
- Maximizing Imprint Size - The biggest mistake is making logos too large. Oversized embroidery feels uncomfortable on chest placements and looks unprofessional. Smaller, cleaner logos signal refined branding and sophistication, while large imprints come off as try-hard advertising.
- Ignoring Existing Branding - Premium items often feature manufacturer logos that you can't ignore. Don't just avoid the same location—harmonize with existing branding instead of competing. Use complementary colors or neutral tones that work with the garment's existing design elements.
- Not Considering Layering - Think about how garments will actually be worn. Safety vests cover full back prints on t-shirts, sport jackets hide left chest logos, and raised hoods block upper back placement. Plan for real-world usage scenarios.
- Same Size Print on Every Garment - DTF transfers let you vary print sizes without affecting cost. A center chest design can be 4x4 inches on youth sizes, 8x8 on large, and 10x10 on 2XL for better proportional appearance across the size range.
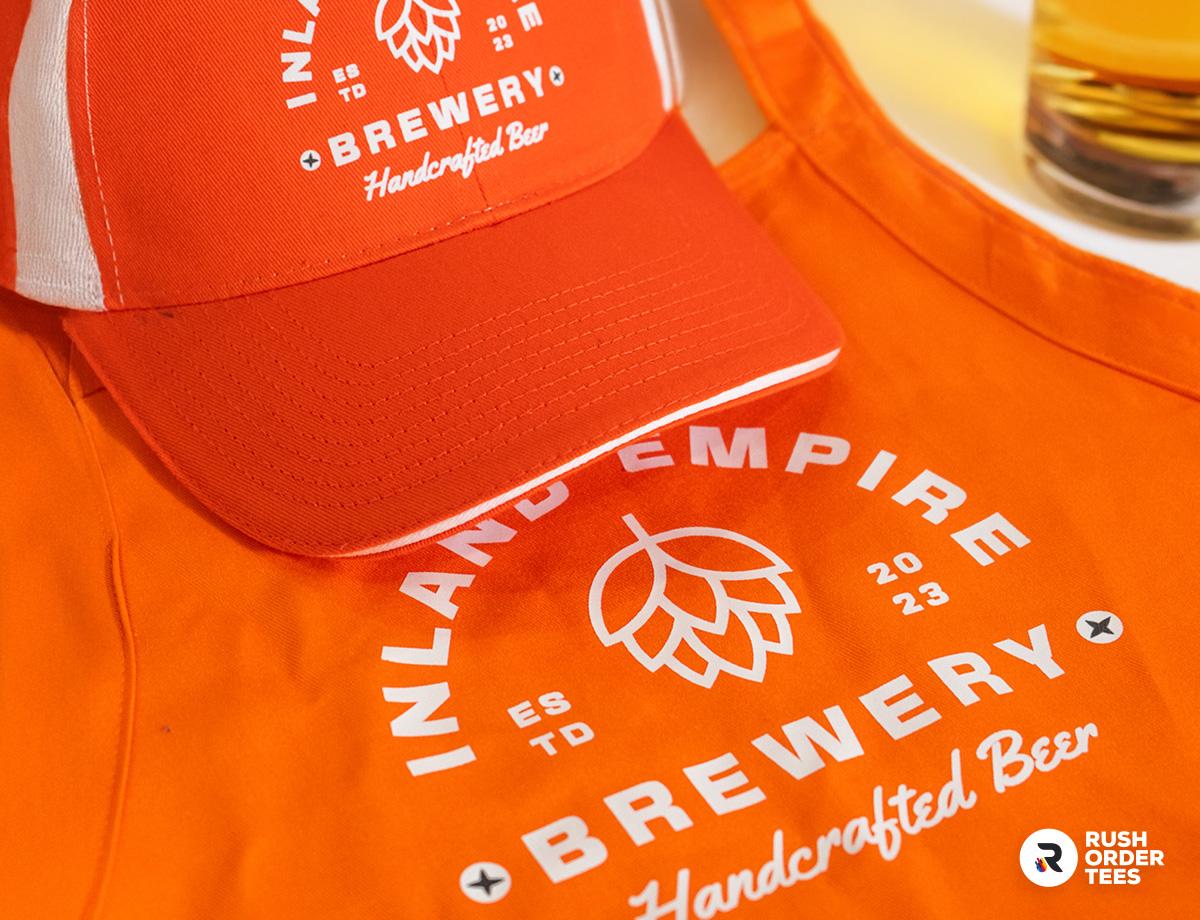
- Treating Clothing Like Advertising - Skip phone numbers, websites, special offers, and promotional messages. Business clothing should focus on branding, not advertising. The occasional funny slogan might work, but generally keep messaging straightforward and professional.
- Choosing Trendy Over Timeless - Avoid placement trends that sacrifice long-term professionalism for short-term style. Your branded apparel needs to look appropriate for years, not just the current fashion cycle.
- Forgetting About Garment Care - Consider how logos will hold up through washing and daily wear. Delicate placements might not survive industrial laundering or frequent use in demanding work environments.
Making the Right Choice for Your Brand
You now have everything you need to choose the perfect logo placement for your business clothing. Remember the fundamentals: keep logos proportional to the garment, consider how apparel will actually be worn, and work with existing design elements rather than against them. Simple, well-placed branding always outperforms oversized attempts at maximum visibility.
The key is matching placement to purpose. Left chest delivers professional subtlety for client-facing teams, while full back maximizes impact for field crews and event staff. Center chest strikes the perfect balance for modern workplaces, and alternative placements like sleeves or hem can set your brand apart when traditional locations don't work.
RushOrderTees has decades of experience customizing gear across every industry—from grungy automotive shops to construction sites and safety-critical environments, all the way up to premium corporate boardrooms. Our art department helps optimize every design for the best possible results, and our virtual mockup process ensures you're completely satisfied before production begins.
Ready to create branded apparel that your team will actually want to wear? Browse our extensive catalog to choose your garments and get your order started today. Whether you need a dozen executive polos or hundreds of work shirts, we'll help you place your logo exactly where it needs to be for maximum impact and professional appeal.

About the Author
A graduate of the Multimedia program at the University of the Arts in Philadelphia, Imri Merritt is an industry veteran with over 20 years of graphic design and color separations experience in the screen printing industry.
